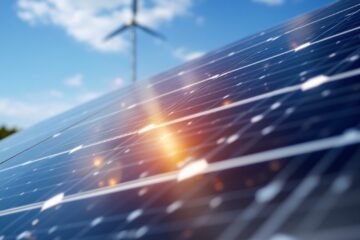
Ever thought about taking control of your energy costs while making a real difference for the environment? That’s exactly what I did when I decided to tackle a DIY solar installation. The idea of cutting ties with rising utility bills and reducing my carbon footprint was too good to pass up. Sure, it takes some effort, but the rewards are massive, from serious savings to the satisfaction of powering your home with clean energy. Whether you’re motivated by the financial benefits, the environmental impact, or just the challenge of a hands-on project, going solar on your own terms is one of the smartest moves you can make.
Benefits of DIY Solar Installation
Let me tell you, nothing beats the feeling of slashing your electricity bills while doing something good for the planet. I remember the shock when I saw my first full month’s savings after my DIY solar installation. I was saving roughly $125 a month, and over 25 years, that adds up to nearly $37,500. That’s not pocket change! Plus, depending on where you live, you could save even more. If you’re in a sunny state like Arizona or California, that number could shoot up to $90,000.
But it’s not just about the money. A single solar panel prevents over 900 kg of CO2 emissions per year. It’s wild to think that 1.6 years after installation, the panel has already offset its own carbon footprint. That’s why I always say, if you’ve got the time and some DIY spirit, this is one of the most rewarding projects you can take on. Plus, with DIY solar kits averaging around $11,250 for a decent-sized system, you’ll save nearly $7,000 compared to hiring pros.
Preliminary Planning and Design
Before drilling holes in your roof, step one is figuring out how much energy you actually need. Most U.S. homes use about 10,500 kWh per year, but pull up your last 12 months of electric bills to be sure. A good rule of thumb? A 6.3 kW system in Utah (or any place with decent sun) should cover that amount. Trust me, oversizing your system is a waste of money, and undersizing means you’ll still rely on the grid.
Next, check local zoning laws and get the right permits. Nobody wants a nasty surprise from the city inspector. And when picking components, spend a little extra on monocrystalline panels (they hit 19-22% efficiency) if space is tight. For inverters, I went with micro-inverters because I liked the idea of each panel working independently, though string inverters are cheaper.
Acquiring Tools and Components
Here’s where things get real. You’ll need:
- A stud finder (unless you enjoy guessing where rafters are)
- A decent drill with masonry bits if you’re mounting on brick
- MC4 connectors (the standard for panel wiring)
- Breaker panels and busbars (if you’re doing battery backup)
Oh, and don’t forget waterproof sealant. Learned that the hard way when I missed a tiny gap in the flashing and ended up with a leaky roof after a storm. Not fun.
Site Preparation
If you’re doing a roof mount, mark your rafters with a chalk line before drilling. Pro tip: Flashings (those metal pieces that seal the gaps) should go *under* the shingles for a proper watertight seal. On my first try, I put them over, and, yeah… bad move. For ground mounts, dig holes at least 18 inches deep for concrete footings. And if wiring runs underground, make sure it’s in conduit, since squirrels love chewing through exposed cables.
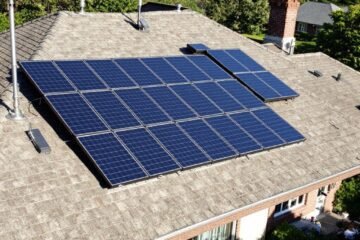
Installing Solar Panels
The fun part! Attach the mounting rails first, then place the panels loosely before tightening everything down. Don’t crank them super tight right away. Adjust the tilt angle to match your latitude (this maximizes sunlight absorption). And double-check spacing so no panels shade each other. My neighbor didn’t, and his efficiency dropped 15%.
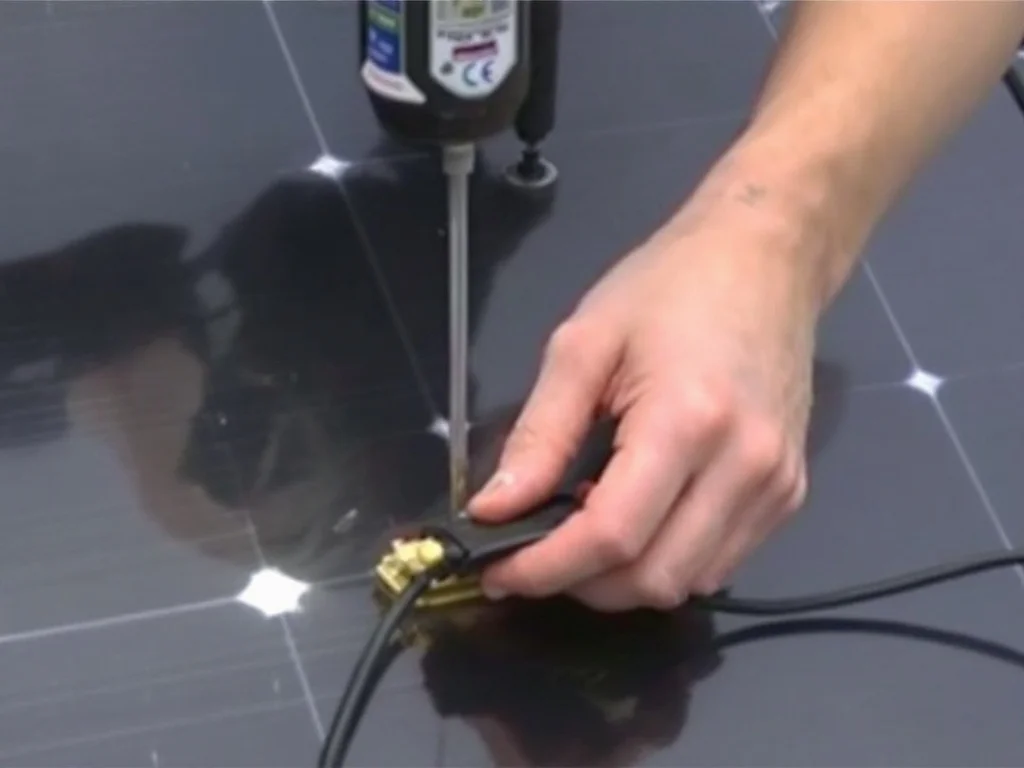
Wiring and Connecting Components
Follow NEC codes here, because electrical fires are not on my list of hobbies. Start by connecting the charge controller to your batteries (if you have them). Then run wiring from the panels to the inverter, securing everything with zip-ties so nothing dangles. Install a PV disconnect switch. This lets you shut off the system safely during maintenance.
Oh, and label every wire. Future-you will thank present-you when it’s time for troubleshooting.
Installing Energy Storage (Optional)
I added lithium-ion batteries for backup power. Keep them in a cool, ventilated spot. Heat kills battery life. Follow the manual religiously when wiring them to your inverter, and include a fused disconnect for safety.
Connecting to the Grid
This is where you bite the bullet and hire an electrician (unless you’re licensed). They’ll handle the grid tie-in, install the right breakers, and make sure your system won’t fry itself or the neighborhood. Mine added a 50-A breaker at the main panel, which is standard for most residential setups.
Testing and Commissioning
Once everything’s hooked up, test all connections. Many inverters have monitoring software. Use it to check for weird voltage drops. Inspect flashings again (seriously, leaks are sneaky). And if you’ve got batteries, make sure they’re charging properly.
Maintenance Tips for Longevity
Solar panels are low-maintenance, but not no-maintenance. Clean them 2-3 times a year with water and a soft brush (no harsh chemicals). Check wiring for corrosion, and keep an eye on your inverter’s performance. With good care, your system will last 25 years, still running at 80% efficiency by the end.
Final thought? It’s work, but the payoff, both financially and environmentally, is absolutely worth it. If you’re new to solar energy basics, start there before diving into installation.
Final Thoughts on Going Solar Yourself
Taking the DIY route for solar might seem daunting at first, but trust me, the rewards are unbeatable. From the instant gratification of watching your meter run backward to knowing you’re making a real dent in your carbon footprint, every bit of effort pays off. Sure, there’s a learning curve (and maybe a leaky roof lesson or two along the way), but with the right prep and patience, you can build a system that keeps you powered, and proud, for decades. Happy solar hacking!
FAQ
Q: What tools and materials do I need for a DIY solar panel installation?
A: You’ll need solar panels, mounting hardware, a solar inverter, wiring, conduit, a charge controller (for off-grid systems), safety gear, and basic tools like drills, wrenches, and a voltage tester. Always check local building codes for specific requirements.
Q: How do I determine the right location for my solar panels?
A: Choose a south-facing roof area (in the northern hemisphere) with maximum sun exposure, minimal shading, and proper structural support. Use a solar pathfinder or online tools to analyze sun patterns before installation.
Q: What safety precautions should I take when installing solar panels?
A: Always turn off power at the main breaker, use proper fall protection when working on roofs, wear insulated gloves when handling wires, and avoid working in wet conditions. Consider having a professional electrician handle the final grid connection.
Q: How do I connect my DIY solar system to the electrical grid?
A: Grid connection requires approval from your utility company, proper permits, and installation of a grid-tie inverter with automatic shutdown capabilities. Many DIYers complete the physical installation but hire a licensed electrician for the final connection.
Q: What maintenance does a DIY solar panel system require?
A: Basic maintenance includes periodic cleaning of panels, checking for loose connections, monitoring system performance, and trimming nearby trees that may cause shading. Most systems require minimal maintenance after proper installation.
Sources
https://www.gogreensolar.com/pages/diy-solar-installation-guide
https://www.energysage.com/solar/much-solar-panels-save/
https://www.instructables.com/63-KW-Ground-Mount-Home-Solar-Array/
https://www.youtube.com/watch?v=D-14_NwgGL0
https://www.cnet.com/home/energy-and-utilities/how-much-money-do-solar-panels-save/
https://www.ecowatch.com/solar/diy-solar-panels
https://www.youtube.com/watch?v=jSa1tvrrFZg
https://www.greenlancer.com/post/how-much-do-solar-panels-save
https://www.renewableenergyhub.co.uk/main/solar-panels/solar-panels-carbon-analysis
https://www.instructables.com/DIY-OFF-GRID-SOLAR-SYSTEM/